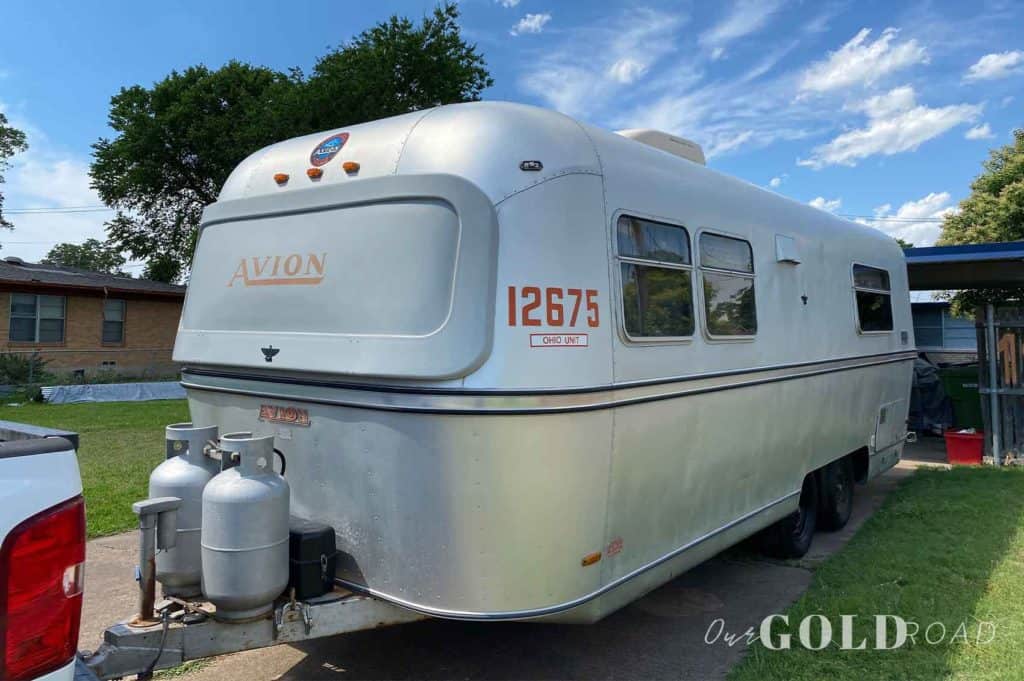
Finding leaks in your vintage trailer is normal. But water intrusion is enemy number one for trailers, so addressing them should be at the top of your trailer project list. We assumed Roamie, our ‘73 Avion, had them when we bought her. She was in pretty great shape, but trailers require maintenance, and we knew she sat unused for a while. It was only a (short) matter of time before we would find those leaks.
When we pulled up the carpet, we found iron plates concealing the soft spot at the door. (Insert face palm here.) A following rainstorm confirmed we still had a leak at the entry.
Then we happened to notice light water on the wall under the kitchen sink as the A/C was running (condensation was making its way into the trailer).
We were able to quickly track down the A/C condensation leak, but the leak at the door was challenging, so we decided to seal the entire trailer top down. This would help us knock out any leaks we hadn’t found, yet, too.
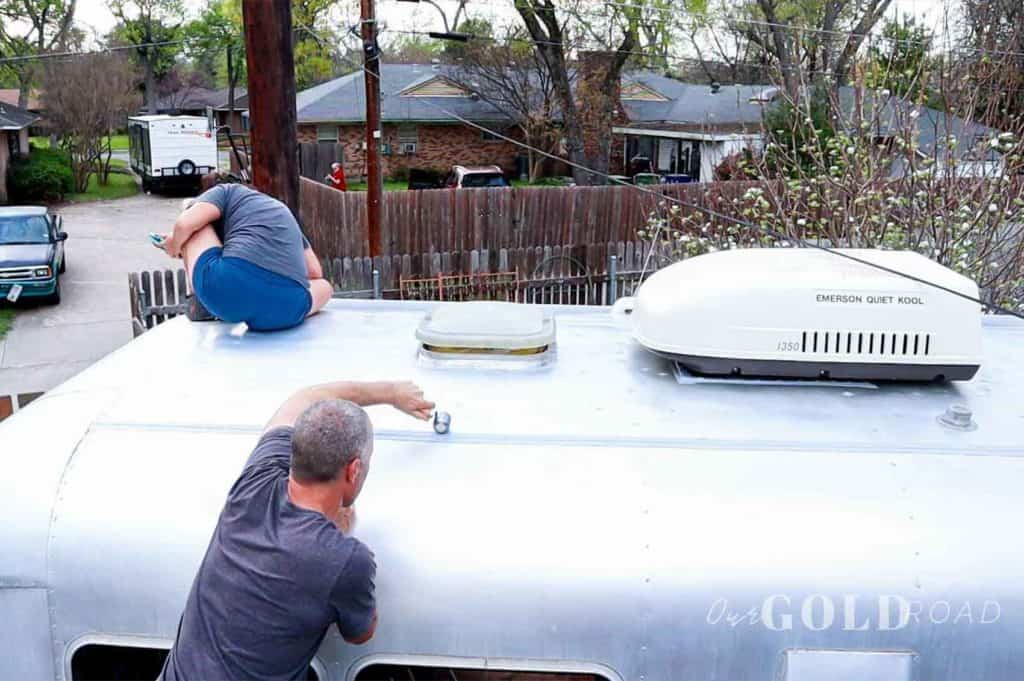
So we started at the top – sealing the roof first. (Follow-up projects will be sealing the aluminum side panel seams, beltline seams, window frames, and reglazing the old aluminum frame Hehr windows.)
Starting the Roof Project
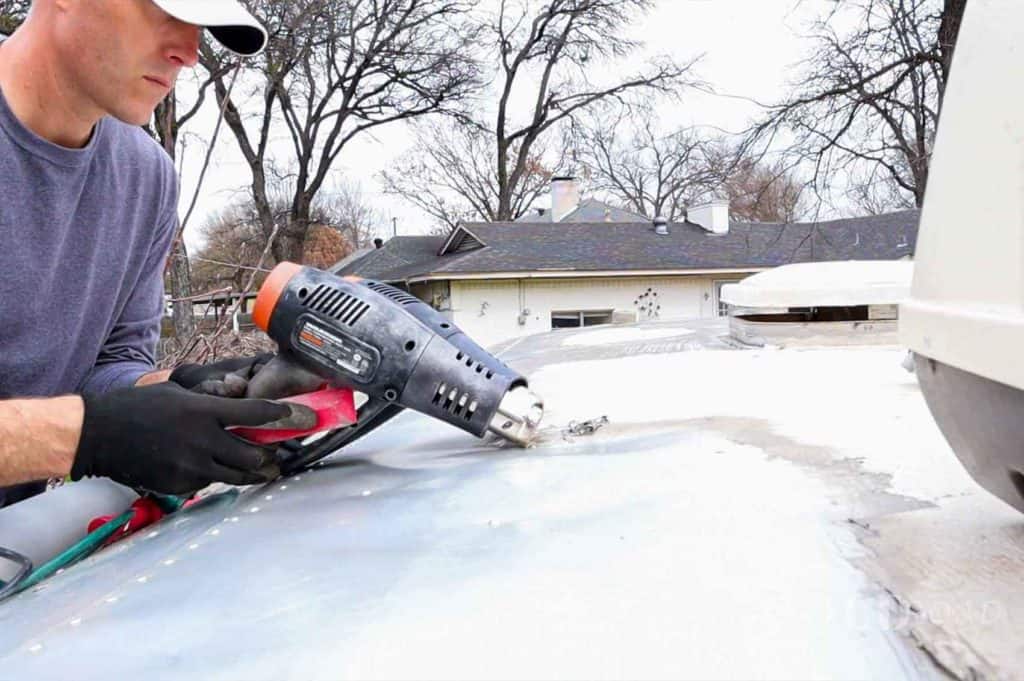
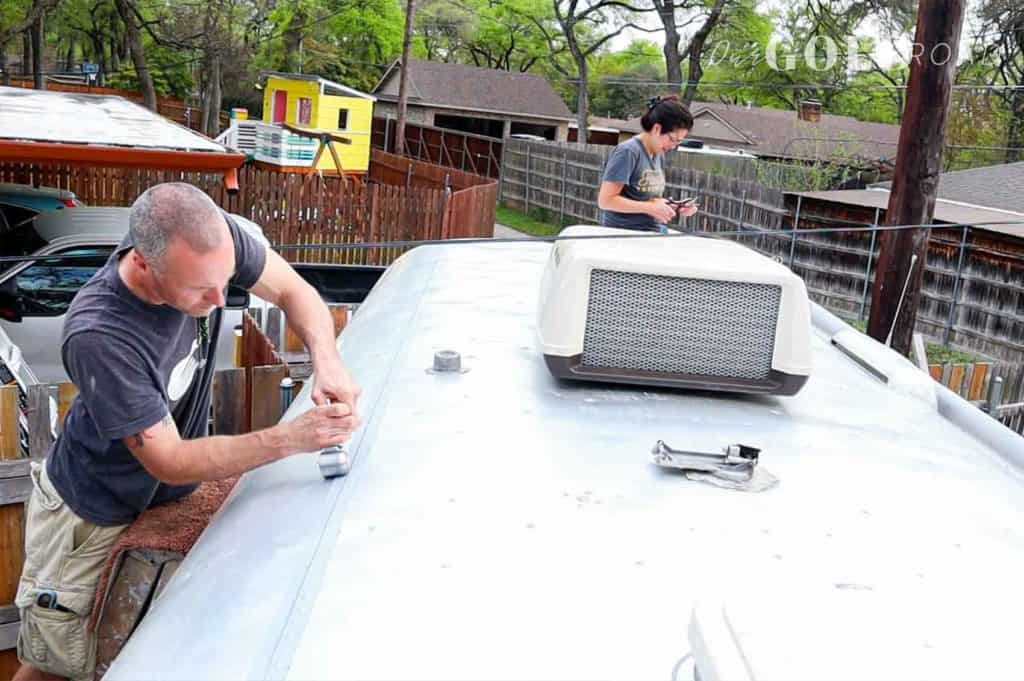
We had some layers of Kool Seal to scrape off before we could clean and prep the roof for sealing. It was admittedly a pain. The total project took about 2 weeks (working 2-3 hours most days) to carefully scrape, clean, and seal. We also replaced the A/C gasket to finish off the project (and cleaned out the crazy number of old mud daubers’ nests in the A/C). We spent a couple of hours each day working together. Fortunately, we enjoy each other’s company. 😆
Below is the list of steps we followed to seal the roof. We also made a video detailing a step-by-step walk-through of our process. Video at bottom of post along with complete list of all products used in our process.
Sealing your aluminum travel trailer with Eternabond tape:
1. Remove old sealant
You can watch our video below for the process and tools we used.

- Scrape off any old sealant on the roof (any roll on sealant and all caulking) – you can check out that removal process by watching our separate cleaning video above. ☝️
2. Replace missing rivets
- Inspect the roof for any holes that need repair or missing rivets you might need to replace. *If you have to replace any rivets, don’t forget to coat the rivets in Sikaflex 221. This sealant will add protection and help prevent any corrosion between the rivet and the metal roof.
3. clean roof
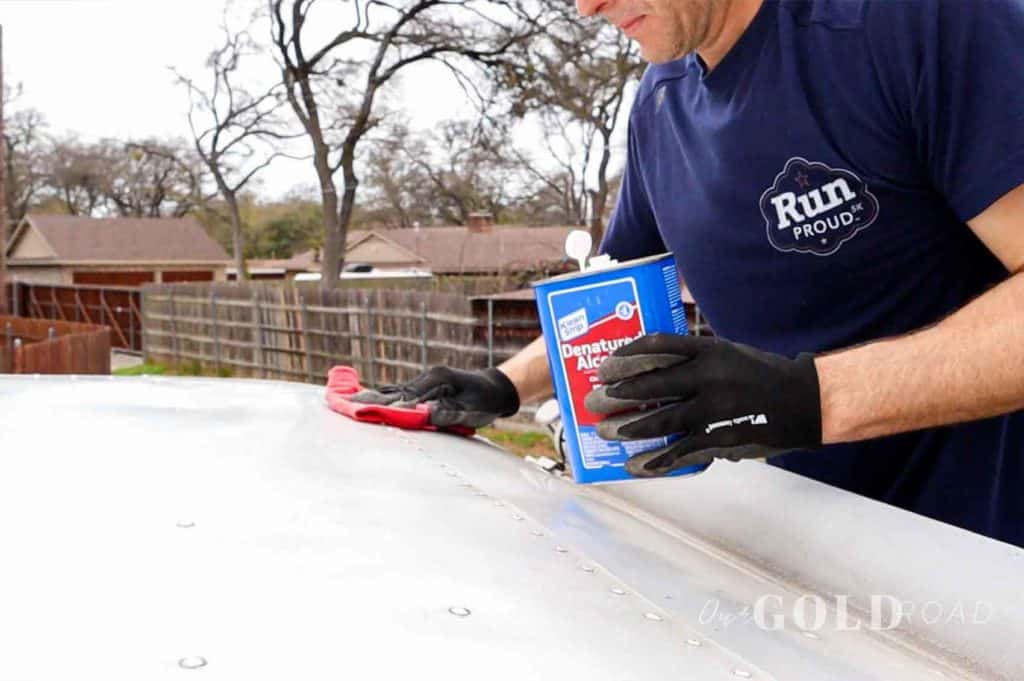
- Clean any roof area where you will apply Eternabond Tape. If mineral spirits was used to clean old sealant off the roof then remove the leftover residue with denatured alcohol.
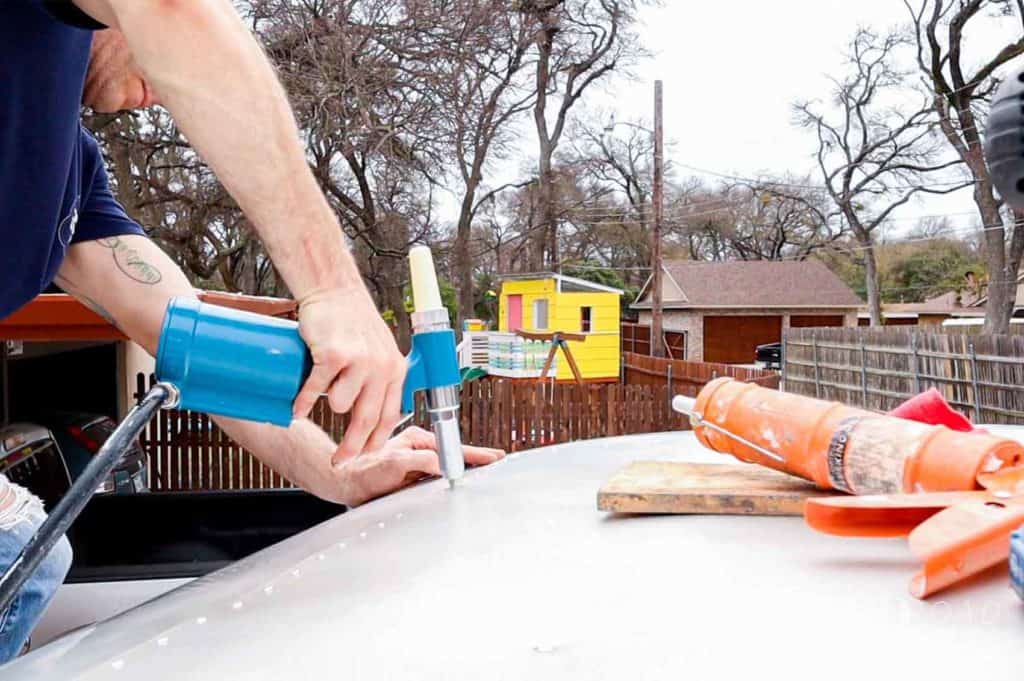
4. apply polyurethane sealant
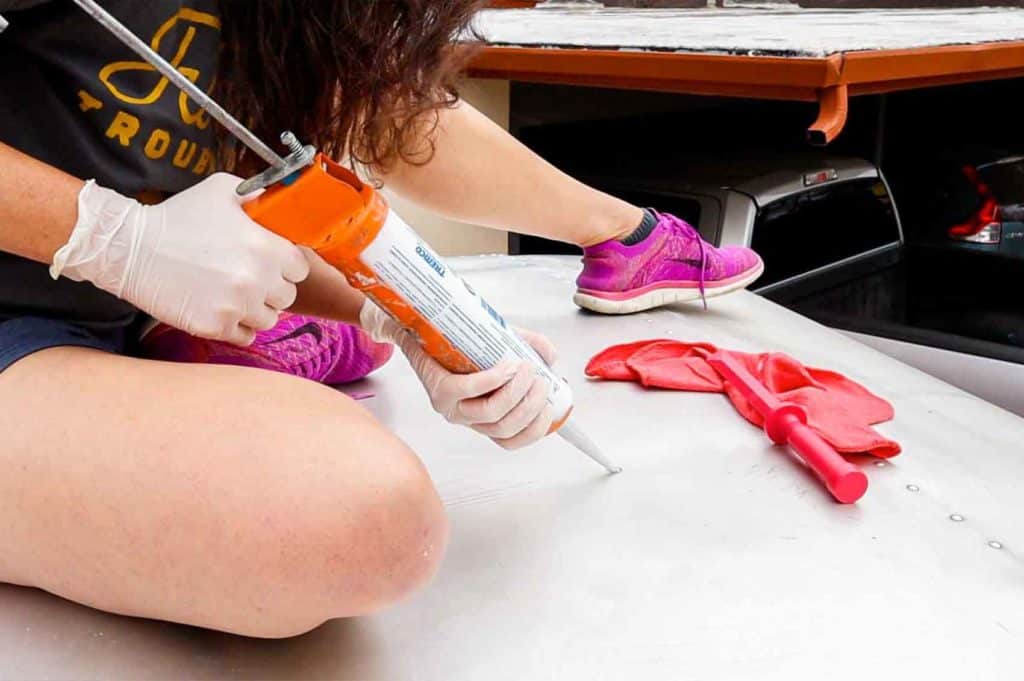
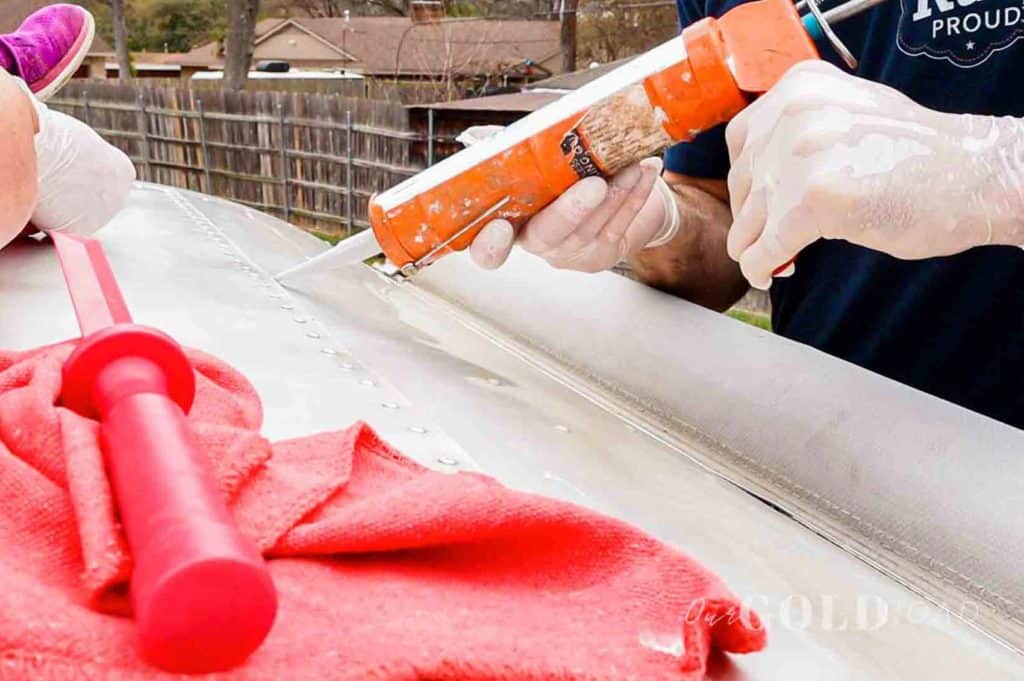
- Apply Trempro 635 to all seams and rivets. We decided to double down on our roof sealants. If for some reason the Eternabond Tape is removed or fails (highly unlikely, but we thought, why not be double certain) the polyurethane sealant is an extra barrier. Other seam sealant options are Vulkem 116 and Captain Tolleys. We decided on Trempro in case some of the gaps were too big and Captain Tolleys couldn’t seal it completely.
5. apply eternabond tape

-
-
Carefully apply Eternabond tape. Once you put it down, it doesn’t like to come up.
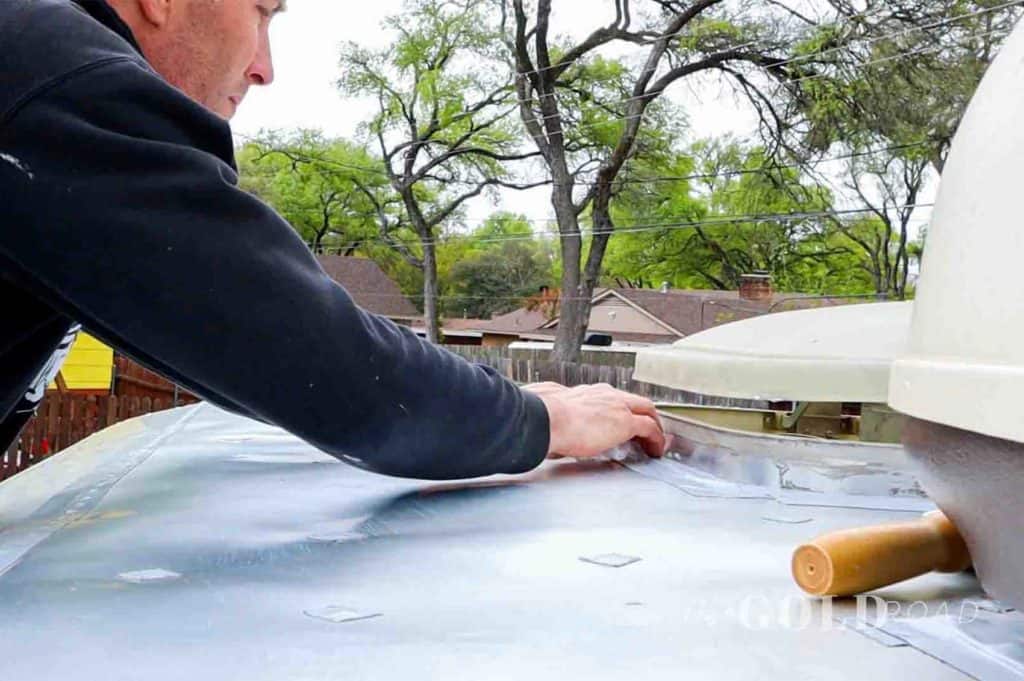
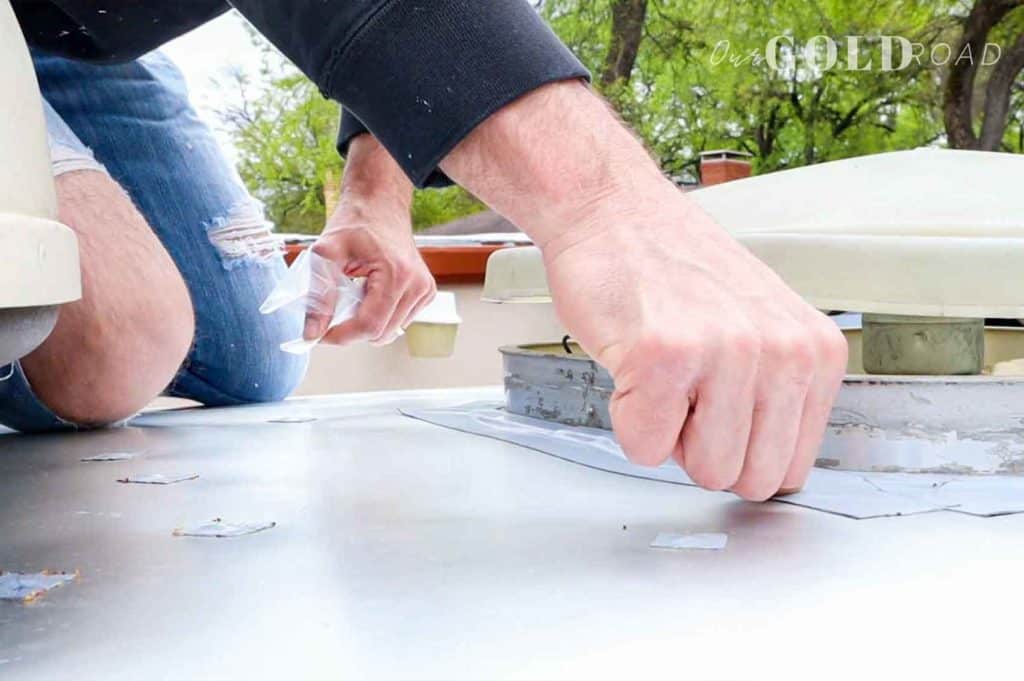
- We purchased the 2” grey tape which blends well with our anodized roof. There is also an aluminum backed option and 4” width option which others have used with success. For us, the 2” tape was plenty wide to cover our seams and rivets. Cut 1” squares to cover rivets. Then simply apply Eternabond Tape according to manufacturer’s recommendations.
6. roll tape to seal
- Use a solid metal roller to apply pressure on the tape. We highly recommend the heavy duty Eternabond roller. There are similar tools, but compared to the seam roller we had in our shop, the Eternabond roller was heavier and made the job significantly easier. The pressure is what generates the reaction that will form the seal between tape and trailer roof. You can find the roller on Amazon here.
Make sure you apply the tape around ANYTHING on the roof that IS or MAY leak to assure a good roof seal.
To complete our roof seal project, we also replaced our trailer A/C gasket. Click here for that walk through video.
And that’s all folks! Two weeks of hanging out on the roof of our trailer! We did this project in July in Texas, and we would like to strongly encourage you to NOT do it during the summer. 😂
Click the video to see all the steps for yourself! 👇
We hope you found this helpful! If you did, we’d LOVE to have you subscribe to our YouTube channel.
Complete roof sealing project materials list below!

As an Amazon Associate, we earn from qualifying purchases.
Some links below are affiliate links for products we researched, used, and can honestly recommend. We are always budget-meets-quality-minded when selecting products. If you click and buy, there is NO extra cost to you, but we’ll earn some ☕ coffee money which we promise to enjoy while coming up with our next video and blog post to share with you.
We like Harbor Freight because their products are often cheaper than box stores AND Amazon. (We do NOT receive a commission from recommending their products.)
MATERIALS NEEDED TO SEAL TRAILER ROOF
Scrape and clean roof (if needed):
- Warrior 1500 Watt 11 Amp Dual Temperature Heat Gun – Harbor Freight
- Nonmarring Scraper Set, 4 Pc. (used 3 sets on our 25’ trailer) – Harbor Freight
- Mechanic’s Shop Towels 14 in. x 13 in., 50 Pk. (had on hand) – Harbor Freight
- Mineral Spirits – local hardware store
Replace aluminum rivets (if needed):
- Drill and drill bits
- Central Pneumatic 3/16 in. Air Hydraulic Riveter – Harbor Freight
- Tradespro 836341 Aluminum Rivet Assortment, 500-Piece, Multiple Sizes
- Sikaflex 221
Clean and seal roof with Eternabond tape:
- Denatured Alcohol (with shop rags) – local hardware store
- Scissors (may get ruined with adhesive) – Harbor Freight has 5 pc set $7
- Eternabond tape 2” x 50’ (required 2 rolls to complete 25’ trailer with leftover)
- Eternabond roller (VERY highly recommend)
Let us know in the comments if you have any questions!
AND if you found this post useful, subscribe to our newsletter for future vintage trailer DIY projects and travels!

Leave a Reply